Your definitive guide to bushwalking and hiking around the Whitsundays (Part 3)
As per Part 1 & 2 of our bushwalking guide, if you enjoy a good walk in nature, the Whitsunday Islands are definitely the place for you.
There are over 40 tracks and trails of varying lengths and difficulties and this is your definitive guide when it comes to walking the region.
Part 1 covered the Whitsunday Islands National Park which includes Whitsunday Island, Langford Island, Hook Island, Haslewood Island and Border Island.
Part 2 covered the Molle and Linderman Islands National Park including South Molle Island, Long Island and Linderman Island.
In Part 3, we will wrap it up with the Conway National Park showcasing walks around the Conway Ranges and Mount Rooper.
Before exploring the tracks, here are a few important safety tips and guidelines:
- When embarking on your bushwalking adventure, never walk alone and let family/friends know your planned trek.
- Make sure you plan your hike based on your own fitness levels.
- Ensure you have suitable footwear, insect repellent, sunscreen and a hat. Travel light, but ensure you have emergency supplies, snacks and especially plenty of water.
- Check tide-times and most importantly – have fun!
Walking Track Grade Meanings:
-

- Grade 2 – No walking experience required

-

- Grade 3 – Suitable for most ages and fitness levels

-
- Grade 4 – Walking experience recommended
-
- Grade 5 – Very experienced walkers only
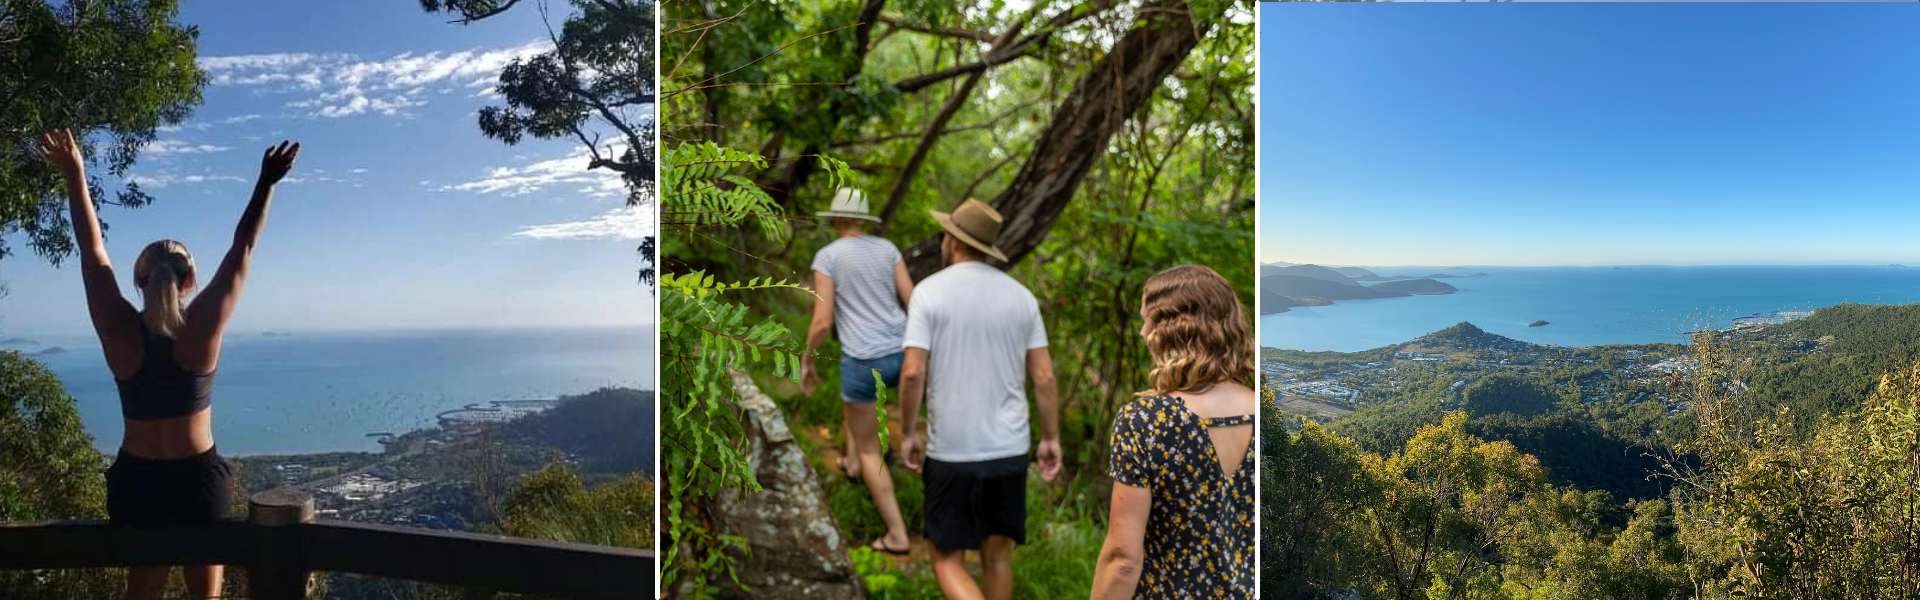
Conway National Park
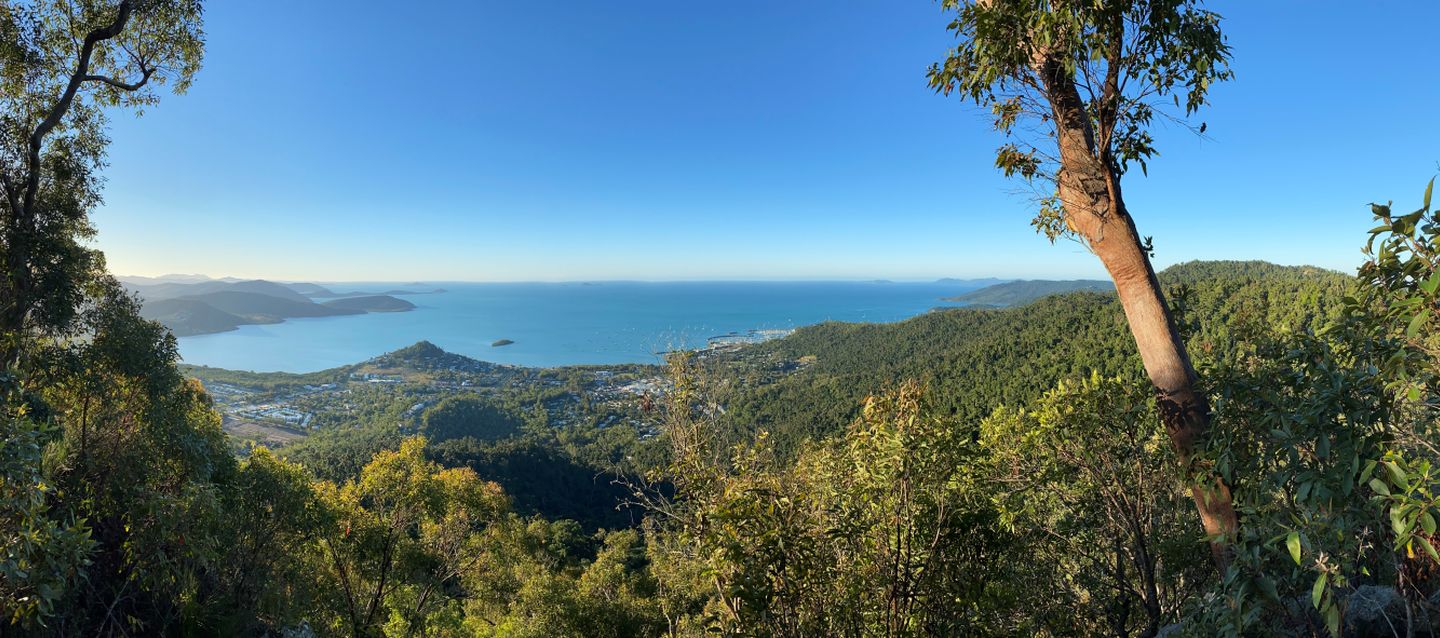
Explore this peaceful part of the coastal mainland featuring secluded beaches and panoramic outlooks over the scenic Whitsunday area.
Coastal Tracks
Coastal Fringe Circuit – 1.2km circuit. Walking time: 45min.
For a nice easy circuit, start at Conway National Park day-use area and walk around the circuit track. While it may not have the views of some of the other walks, there’s some beautiful native flowers and plants and in the wet season, there’s a small tidal creek to cross.
Hayward Gully – 3.2km return. Walking time: 1.5hr.
Follow the Hayward Gully circuit, off the Coastal Fringe circuit to explore lowland rainforest and rocky gullies.
Swamp Bay – 4.2km return. Walking time: 1.5hr.
From Mount Rooper car park, walk around the foot of Mount Rooper to Swamp Bay. It’s beautiful at high tide and in mid-winter, when there’s fewer mosquitoes and midges. This is a fairly humid, hot and challenging walk, so make sure you bring plenty of energy snacks and lots of drinking water.
Tracks around Mount Rooper
The Mount Rooper track junction—200m along the Swamp Bay track—provides 4 walking options. Be prepared—these are mountain hiking tracks for more experienced walkers, so bring sturdy shoes, lots of water, insect repellent and sun protection!

Mount Rooper Lookout – 4.6km return. Walking time: 2.5hr.
This is a challenging uphill walk through woodland and plant communities. Take in the panoramic vista of the Whitsunday Passage and islands and then turn around and come back down the same way you went up.
Mount Rooper Circuit – 5.4km circuit. Walking time: 3.5hr.
Continue on from the Mount Rooper Lookout and bask in the incredible views to Daydream and North Molle islands. From here, head down the hill to join the Swamp Bay track, turning left at the end to return to the car park.
Mount Rooper Circuit and Swamp Bay – 7.2km circuit. Walking time: 1 day.
Want something more challenging – spend a whole day walking on both the Mount Rooper Circuit and Swamp Bay Track. As mentioned above, due to the humidity and mosquitoes, Swamp Bay is best in mid-winter and at high tide.
Coral Beach – 2.2km return. Walking time: 1.5hr.
Take the family on a fantastic walk to Coral Beach, with glorious views across the Whitsunday Passage. To get there, drive past Shute Harbour towards Shute Haven and park just off the road near the Coral Beach track entrance. Make sure you bring a hat, sunscreen and plenty of water as the beach is exposed and on hot days can be sweltering.
The Beak Lookout – 3.4km return from Coral Beach Track car park. Walking time: 2.5hr.
Take the Coral Beach track and head towards the eastern end of the beach. Just a quick reminder about the heat and sun on this one!
Continue a moderate climb for about 600m to The Beak Lookout. It’s worth the sun and climb as the views across the Whitsunday passage are amazing.
Tracks around the Conway Range
Kingfisher Circuit – 2km circuit. Walking time: 45min–1.5hr.
Looking for a great walk for the adventurous family, then look no further – this is a little strenuous, but is the local Ranger’s favourite. It starts at the Forestry Road car park, then up the all the stairs to rejoin the main track then return to the car park. Please note that this is a shared-use track so there are both walkers and mountain bike riders.
Wompoo Way – 7km return. Walking time: 3.5hr.
From the Forestry Road car park, follow the Conway circuit for 2.3km then turning left onto Wompoo way. This will take you down past a trickling creek before arriving at a beautiful waterhole.
Honeyeater Lookout – 8.2km return. Walking time: 3–4hr.
This rugged track is a favourite for both walkers and mountain bikers – but the one thing anyone who takes this track have in common is they’re keen for a fitness challenge. While it’s a tough trek, with some gradients being up to 35° within the first 2km, it’s strenuous in parts but the views are worth every single step. Start at the Conway circuit track entrance near Kara Crescent in Airlie Beach. The turn-off to the lookout is 2.3km along this track and it leads to a ridge and lookout with spectacular views over Cannonvale and the Whitsunday islands.
Conway Circuit
Conway Circuit (full) – 27.1km one way. Walking time: 3 days
Pack up for 3 days of walking and 2 nights of camping-in-the-rough and under the stars. There are 2 entry points—Forestry Road car park and near the top of Kara Crescent in Airlie Beach. This walk can be done in roughly 12 hours nonstop however you must be extremely physically fit to accomplish this in one day!
Conway Circuit Sections:
Forestry Road–Impulse Creek section – 4.5km one way. Walking time: 1.5hr.
– 9km return. Walking time: 2.5hr.
Calling all serious walkers! Why not include the Kingfisher circuit, a delightful deviation that only extends your walk by 45min. And while you’re at it, another side track that’s well worth the effort, is Wompoo way. Just be aware that you must return along the same track to rejoin the Conway circuit. Another important warning is that this track gets considerably rougher after Impulse Creek crossing, so if you’re only doing a day walk, it’s best to head back from here.
Impulse Creek–Repulse Creek Camp section – 3.5km one way. Walking time: 1hr.
This one is for the experienced walkers. Go carefully as the track is somewhat rougher with many steep sections as well as crossing some minor creeks. Enjoy the walk, but make sure you leave enough time to get to Repulse Creek camp well before the sun goes down!
Repulse Creek Camp– Bloodwood Camp section – 11.5km one way. Walking time: 5–6hr.
Make sure you give yourself plenty of time for this walk. Follow the coastal ridge towards Airlie Beach and tackle a long, steep, challenging climb to reach Hayward Lookout near the summit of Mount Hayward. At the top, you’ll be rewarded with some amazing views and some much appreciated cool breezes, then continue along the ridge to Bloodwood Camp.
Bloodwood Camp– Airlie Beach section – 8.5km one way. Walking time: 3.5–4.5hr.
One for the pro’s – this is the steepest and most difficult walk of them all. On a clear day, it is well worth adding the extra 1.5hr taking a side track—which, fortunately is not as steep—to the Honeyeater lookout with incredible expansive views stretching beyond Cannonvale to the Dryander Range and out to Whitsunday Islands. Go back to the Conway Circuit and walk downhill through sections of grasstrees, cycads and eucalypts to Airlie Beach. The track actually ends near Kara Crescent, but you can continue another 700m downhill to get to Airlie Beach.